

Shopify is a widely used e-commerce platform for online and retail shopping. By integrating Shopify with your system, you can enhance your e-commerce capabilities in several ways, including workflows, the use of Shopify-specific custom values, and more. Follow these steps to integrate Shopify with your system:
Step 1: Create a Shopify Account
- Or log in to an existing account
Step 2: Create a “Private App” within your Shopify App Store
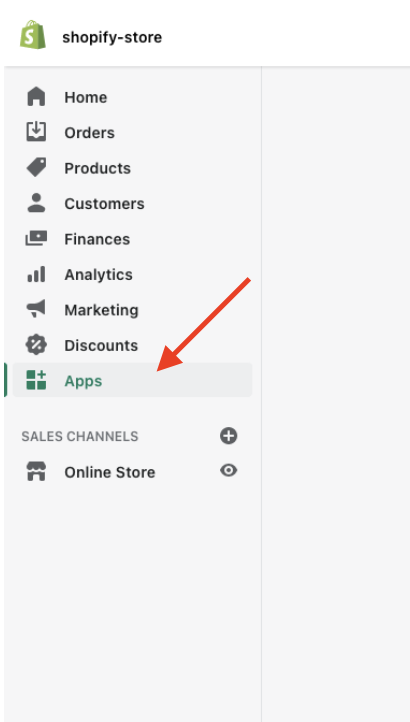
- Once logged in to your Shopify store, navigate to “Apps” from your dashboard.
- Click “Manage private apps” (at the bottom of the page)
- Click "Enable private app development"
- Click “Create private app”
- NOTE: IF you already had enabled the private app development, you’ll be directed straight to the “Create private app” button and won’t need to re-accept the terms/permissions.
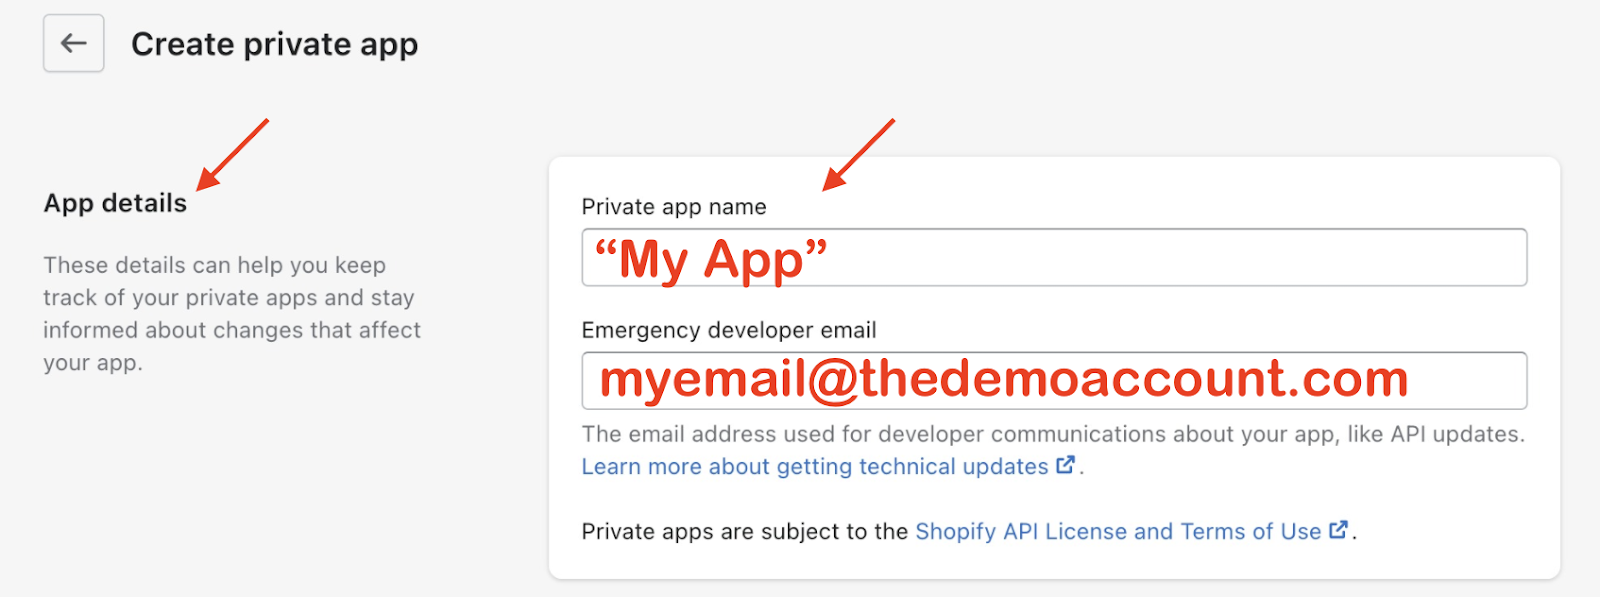
- Enter a name for your app such as “my App” or “Sally’s Shopify Store”, and enter your email address in the “Emergency developer email” field.
- Under the Admin API section, click to expand the “Show inactive Admin API permissions”.
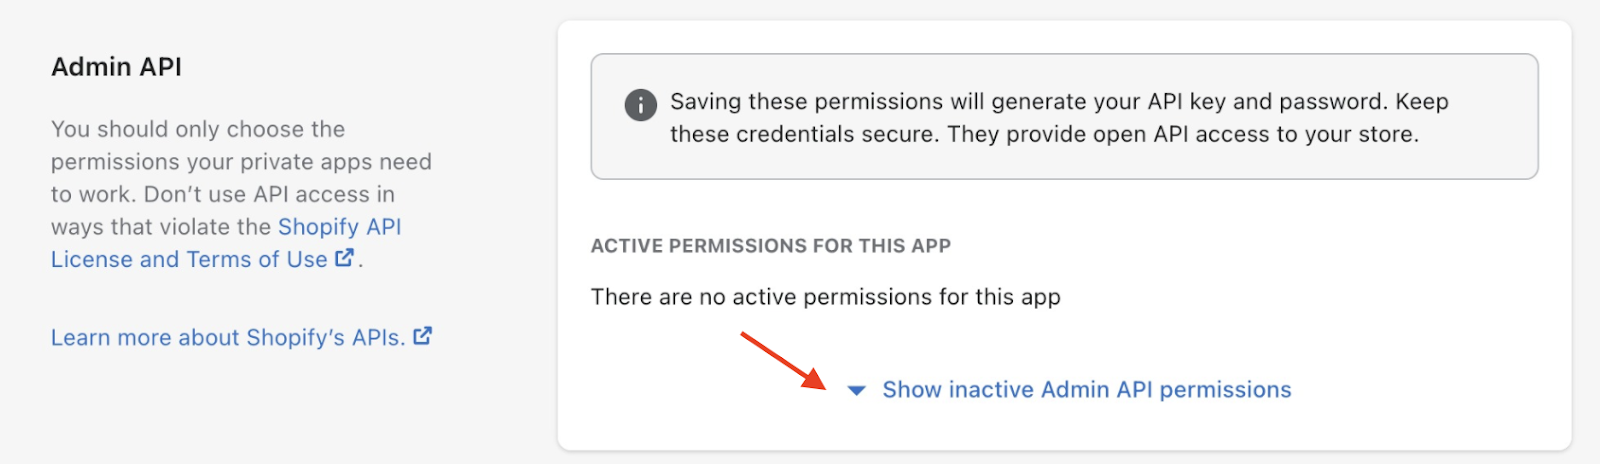
- In the expanded drop-down of all your options, scroll to “Orders” and enable “Read Access”. Then scroll to “Products” and do the same.
- Click “Save” in the top right corner to confirm your changes. Your Shopify app is now ready to integrate!
- Back on the “Apps” page within Shopify, under “Admin API” you’ll see a Password field. Click the copy icon (looks like a clipboard) to to copy the API password. Keep this password copied, as you’ll need it in the next step.
Step 3: Connecting Shopify to your System
- Back in your CRM system, navigate to Settings > Integrations.
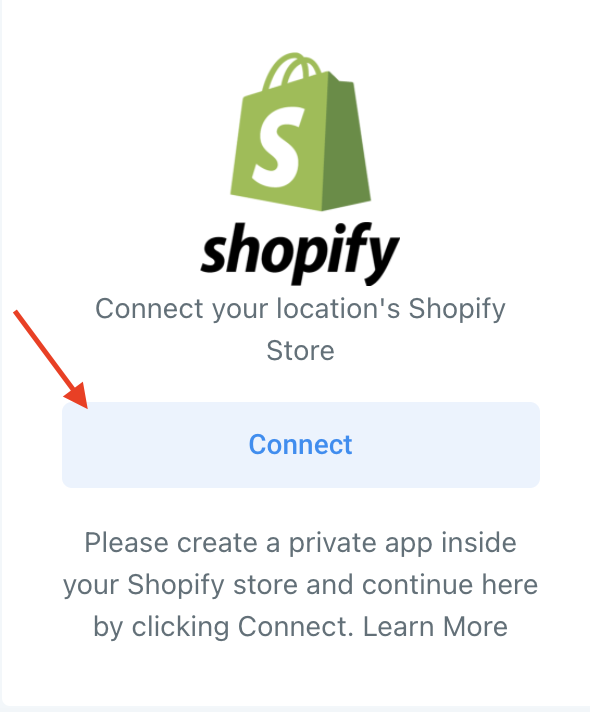
- Click “Connect” under Shopify.
- In the popup window, paste the previously copied password and type out your Shopify App name.
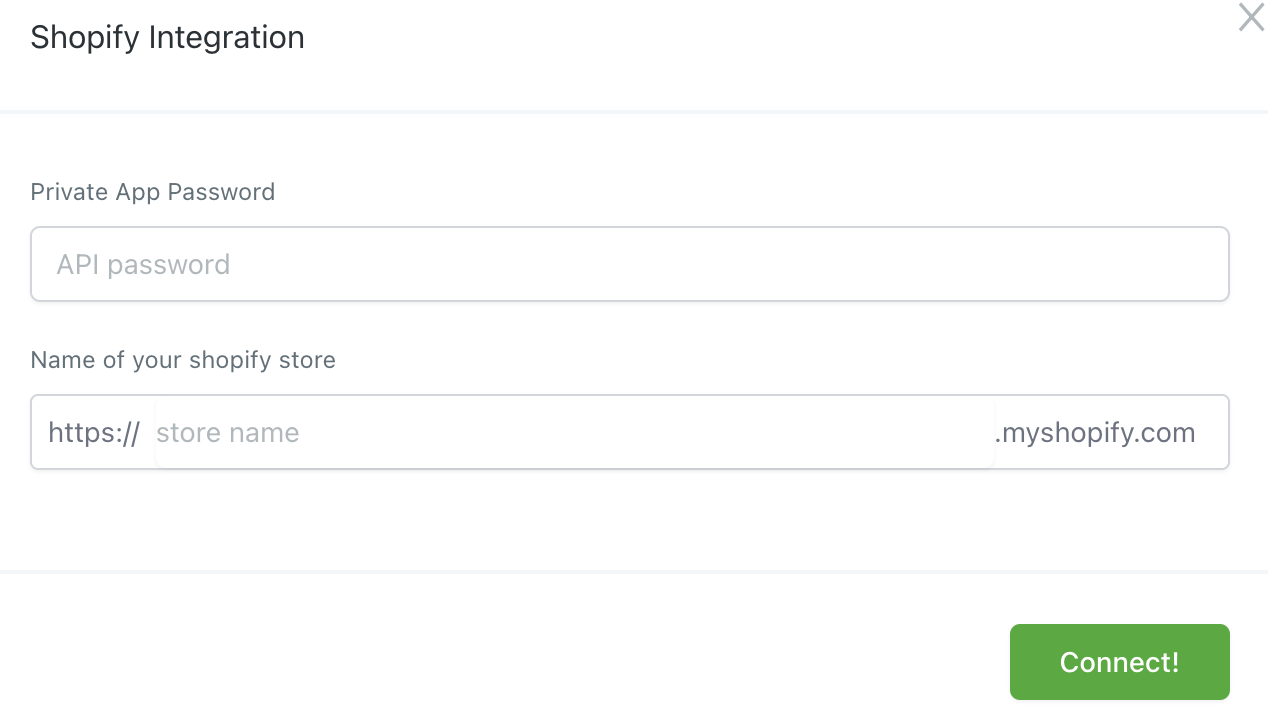
- Click “Connect” to complete the integration.